As we are making progress on the development of robotic applications in our lab, we experience benefits from providing an easy-to-deploy common ROS Kinetic environment for our developers so that there is no initial setup time needed before starting working on the real code. At the same time, any interested users that would like to test and navigate our code implementations could do this with a few commands. One git clone command is now enough to download our up-to-date repository to your local computer and run our ROS kinetic environment including a workspace with the current ROS projects.
To reach this goal we created a container that includes the ROS Kinetic distribution, all needed dependencies and software packages needed for our projects. No additional installation or configuration steps are needed before testing our applications. The git repository of reference can be found at this link: https://github.com/icclab/rosdocked-irlab
After cloning the repository on your laptop, you can run the ROS kinetic environment including the workspace and projects with these two simple commands:
cd workspace_included
./run-with-dev.sh
This will pull the robopaas/rosdocked-kinetic-workspace-included container to your laptop and start it with access to your X server.
The two projects you can test
Once you are inside the container you will have everything that is needed to test and play around with the two projects we are currently working on, namely robot navigation and pick&place. Both of the projects are based on the hardware we recently acquired. The hardware is our SUMMIT-XL Steel from Robotnik, equipped with a Universal Robots UR5 arm and a Schunk Co-act EGP-C 40 gripper (see a picture of the hardware below). Besides this, we mounted a Intel Realsense D435 camera on the UR5 arm and two Scanse Sweep LIDARs on 3D-printed mounts. Please have a look at our previous blog post for more details about the robot setup and configuration.
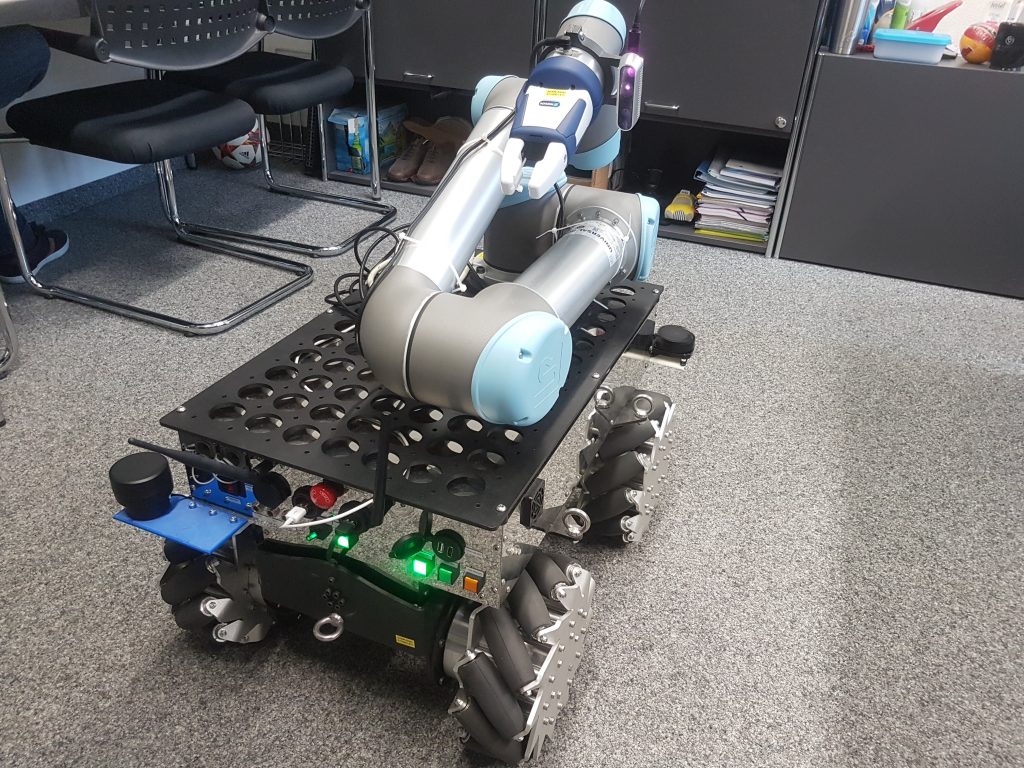
robot navigation project
You can test our robot navigation project by launching a single launch file from the icclab_summit_xl project in the container:
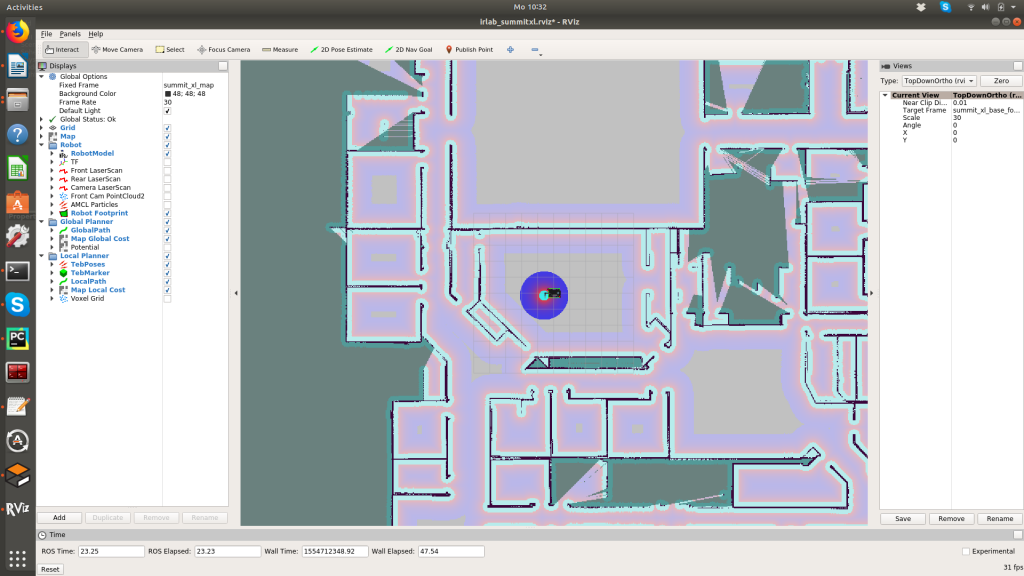
roslaunch icclab_summit_xl irlab_sim_summit_xls_amcl.launchA Gazebo simulation environment will be started with an indoor simulated scenario where the Summit_xl robot can be moved around. Additionally Rviz will be launched for visualization of the Gazebo data (see picture below).
By selecting the 2D Nav Goal top bar option in Rviz it is possible to give a navigation goal on the map in Rviz. The robot will start planning a path towards the goal, avoiding obstacles thanks to the environment sensing based on the LIDAR scans. If a viable path is found, the robot will move accordingly.
Pick&Place project
You can test our pick&place application by calling another launch file from the icclab_summit_xl project which is part of the workspace in the container:
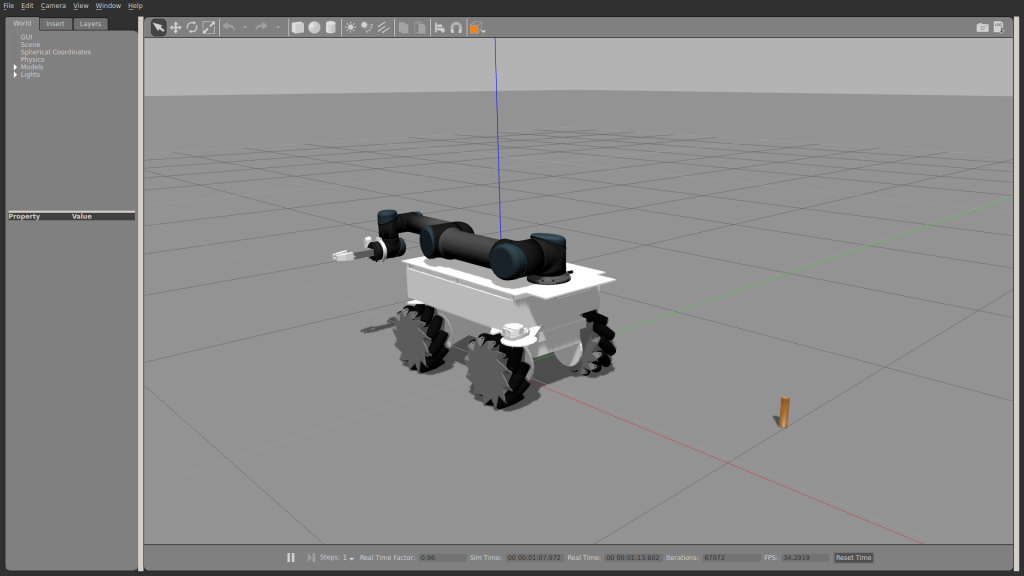
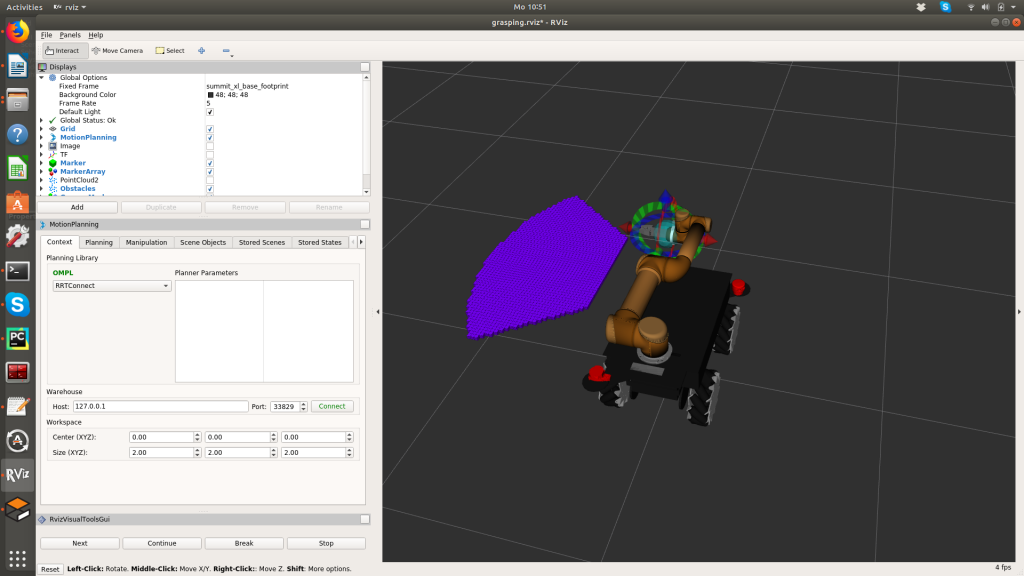
roslaunch icclab_summit_xl irlab_sim_summit_xls_grasping.launchAlso in this case a Gazebo simulation environment will be started, with an empty world scenario with the Summit_xl robot and a sample object to be grasped placed in front of the robot (being the deployed gripper opening as small as 1.8cm the selected object is pretty small). Also Rviz will be launched for visualization of the Gazebo data (see picture below) with Moveit being configured for the arm movement.
As visible from the Rviz visualization picture above, an octomap is configured for collision avoidance in the arm movements. The octomap is built based on the pointcloud received from the camera mounted on the arm. A first simple test to see the UR5 arm moving, is to define a goal for the end-effector of the arm and make moveit plan a possible path. If a plan is found it can be executed and see the resulting arm movement.
To test our own python scripts for the pick&place application, you can run the following commands within the container:
cd catkin_ws/src/icclab_summit_xl/scripts
python pick_and_place_summit_simulation.py
The python script will move the arm towards an initial position so that the object to be grasped can be seen with the front and the arm-mounted cameras. A pointcloud will be built based on the pointcloud from both cameras. Based on the resulting pointcloud, the object to grasp will be identified and a number of possible poses will be found for the gripper to grasp the object. Then moveit will look for a collision-free movement plan to grasp the object. If all of these steps are successfully executed, the object will be grasped and a new movement plan will be computed for placing the object on top of the robot (note that this last step might require some more time as we are adding orientation constraints to the object placement). You can watch a video of our pick&place simulation you can perform with our project below.
Defaulttext aus wp-youtube-lyte.php
As stated earlier, our default simulation setup follows our acquired hardware and uses, therefore, a Schunk gripper. However, you can simulate also a Robotiq gripper for the given robot configuration by changing a parameter when launching the project and by using a second python script as reported below:
roslaunch icclab_summit_xl irlab_sim_summit_xls_grasping.launch robotiq_gripper:=true
cd catkin_ws/src/icclab_summit_xl/scripts
python pick_and_place_summit_simulation_robotiq.py 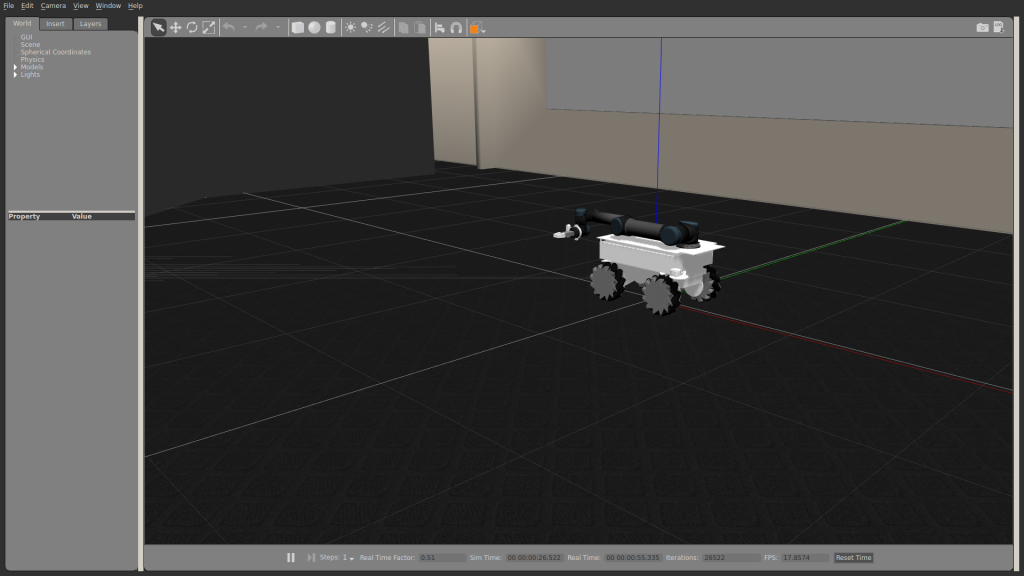
Hello!
I am a member of a lab at a university that recently integrated a UR5e manipulator onto a Clearpath Boxer mobile robot with a Robotiq hand-e gripper. The last item we need to integrate is an Intel RealSense d415 camera on the end effector. Your fully-integrated system closely resembles ours. One piece of the integration on which we are stuck is the physical integration of the RealSense d415 to the end effector – how did you accomplish this? Did you buy your RealSense mount or did you build it in-house? How well does the positioning of your camera allow for seeing the tip of the end effector and any items it may be tasked with picking up? Any notes you might be willing and able to share would be greatly appreciated!
We 3D printed a camera mount