Following the series that we started with the Vamp Blog post, we proceed to take a look of one more of the container management tools which includes running a simple practical example while we pay attention to the main advantages and limitations. This series happens in the context of the work on cloud-native applications in the Service Prototyping Lab to explore how easily developers can decompose their applications and fit them into the emerging platforms.
On this occasion, we inspect Kubernetes, one of the most popular open-source container orchestration tool for production environments. Kubernetes builds upon 15 years of experience of running production workloads at Google. Moreover the community of Kubernetes appears to be the biggest among all the open source container management communities. Kubernetes provides a Slack channel with more than 8000 users who share ideas and are often Kubernetes engineers. Also, one can find community support in Stack Overflow using the tag kubernetes. Inside the Github repository, we can see more than 970 contributors, 1500 watches, 18500 starts and 6000 forks. In the community it is popular to abbreviate the system as K8s.
Some of the self-declared features of Kubernetes are:
- Automatic binpacking: With that, you can specify how much CPU or RAM each container needs. Also you can add a specified limit.
- Horizontal scaling: You can scale your application with a simple command or automatically based on CPU usage.
- Self-healing: Restarts the containers that fail, replaces and reschedules containers when nodes die.
- Service discovery and load balancing: Kubernetes gives containers their own IP addresses and a single DNS name for a set of containers, and can load-balance across them.
- Automated rollouts and rollbacks: With this feature, Kubernetes does progressively roll out changes and it ensure it doesn’t kill all your instances at the same time.
- Secrets and configuration management.
- Storage orchestration: Automatically mount the storage system of your choice, whether from local storage, a public cloud provider such as GCP or AWS, or a network storage system such as NFS, iSCSI, Gluster, Ceph, Cinder, or Flocker.
- Batch execution: Kubernetes can manage your batch and CI workloads using jobs.
The main associated concepts for defining a microservice architecture on the application level using Kubernetes are:
These are the concepts that we are going to use in our practical example. Other useful and important concepts that Kubernetes provides are:
Note that for each feature that Kubernetes provides to us, there is a Kubernetes concept responsible of it. You can see this relation in the next table.

Now, let’s go to see an example using Kubernetes as management tool for a multi-service application. Like in our other blog post for Vamp, we demonstrate how to deploy a simple three-tier architecture that we are running in a development environment with docker-compose into a production environment using Kubernetes. The application is a prototype mimicking the functionality of an actual industry use case, a document management application, in the context of our research on cloud-native applications. All containers of the prototype can be found in the public Docker Hub for reproducing our results.

The first step is to install Kubernetes. For this step, there are different options:
- Custom option: You must install all the Kubernetes requirements by yourself. It is the most difficult option but also it is the most flexible one and without any limitation.
- kops: Easy way to install a Kubernetes cluster on AWS. It has some prefixed options.
- kubadm: One easy way to install a Kubernetes cluster in production. It is currently in alpha stage and it has some limitations.
- minikube: The option to run Kubernetes locally. It has severe limitations like LoadBalancers, PersistentVolumes or Ingress but is typically the fastest to just get a running cluster environment.
In this example, we will use the easiest way to install Kubernetes: minikube. Therefore, for starting it you must follow this tutorial. We start from our docker-compose file which we assume a developer has already at hand. We expect that in the future, automatic application decomposition might happen, but until then, wiring all microservices manually will be the norm.
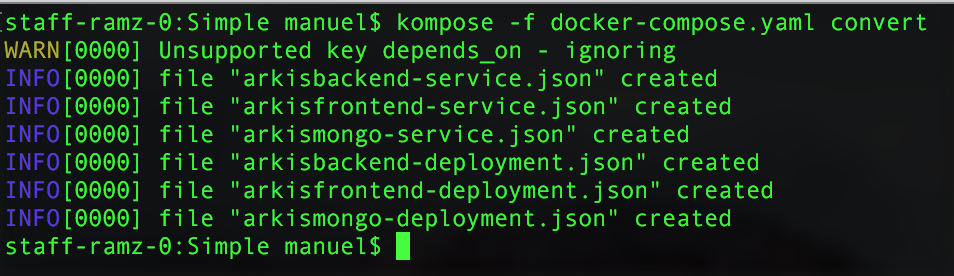
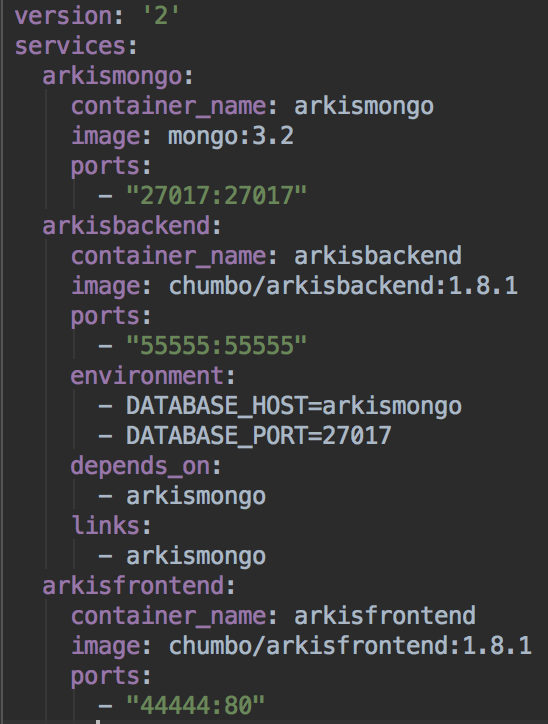 For converting our docker-compose file to the Kubernetes DSL we use the tool Kompose. We go to the directory where we have docker-compose.yaml and we run:
Now, if we have minikube running in our machine we can start the dashboard running “minikube dashboard” in our terminal. This action will open our browser with the dashboard of Kubernetes.

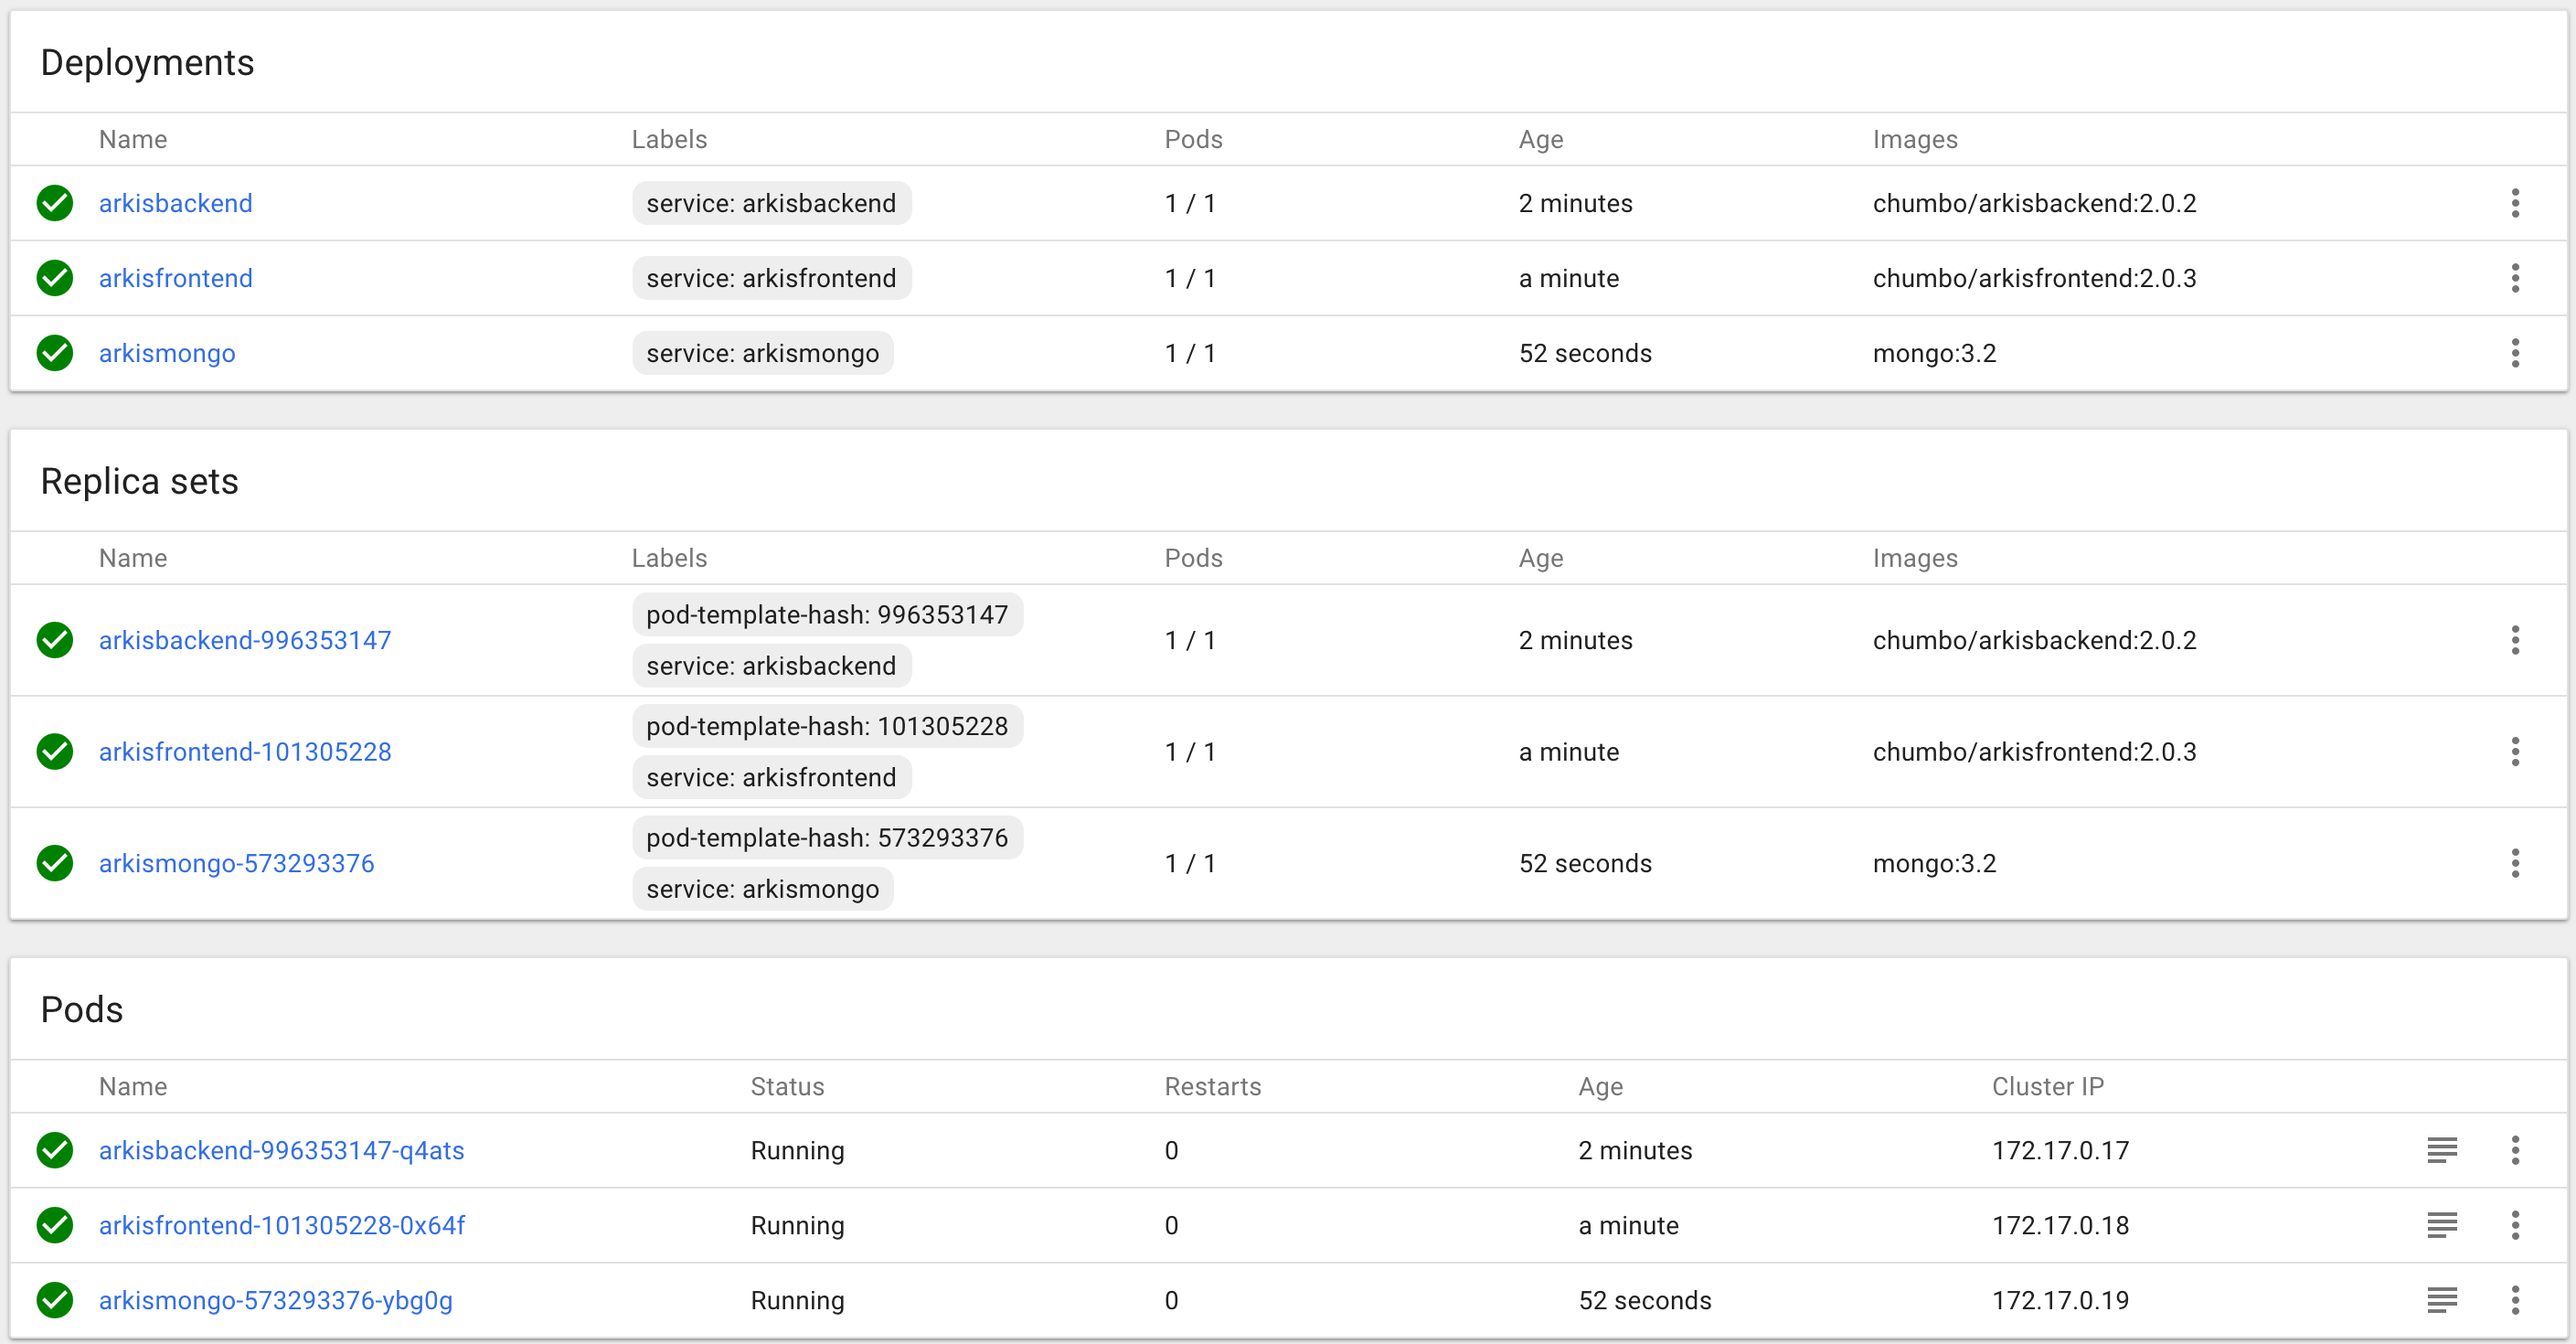
For creating our deployments or services we can use the command line with: kubectl create -f name.json or the dashboard using the button CREATE. After this step we have created our deployments and services, and we must see in our dashboard something similar to the next screenshots:

Using Kompose, the services that we have created by default are of mode ClusterIP. Hence, these services do not have an external IP. We can change the type of the service using the dashboard and clicking on edit.
 In this case we change the type to NodePort. If we want choose a fix external port we can add a nodePort, too. Now we have running our simple microservice architecture in our own Kubernetes cluster. As we are using replica sets, it is already self-healing. Also, we can modify our deployments for horizontal scaling or do a rollout. For example, for scaling the arkisbackend container to 4 pods we just change the number of replicas.
 And now we can see the result:

If now we want do a rollout, we just must change the version of the container image. In this case Kubernetes create first the news pods:

And afterwards Kubernetes will delete the pods with the old version:

Using the tool this way, we will are sure that the application is always running.
Kubernetes thus proves useful as a lower-level tool for managing both single containers and composition of containers. There are also some disadvantages when using Kubernetes:
- You must learn new concepts with partially confusing terminology, e.g. the concept of services.
- You must learn a new DSL for describing it when developing with Docker tools. Kubernetes attempts to solve this with Kompose.
- The difficulty to install a Kubernetes cluster in a production environment if we compare with other tools like docker swarm. From the version 1.4 we can use the tool kubeadm that do it more easy. But it is still in alpha stage and it has important limitations yet.
- It misses crucial service platform ingredients including a marketplace and broker. The development roadmap is not very clear on these features.
As future work we will continue writing blog posts about container management and compare the tools more thoroughly once we have established a more complex common example.